It all started with my MIL inviting me to CA for a week long quilting retreat (I promise to blog about this later as well, it was a wonderful, fun week)! I had heard about these and wanted to go, but I've never had time in my schedule (not to mention, absolutely ZERO experience in quilting...easy sewing projects, sure! A couple small baby gifts, maybe! A quilt!? Not hardly). However, after working 60+ hr weeks during tax season, I had accumulated enough time off to make it happen in November 2012. I was terribly sad to leave behind the hubby and pup, Tucker, but hubby had a surprise project for me (another blog post for another day) so he planned to be as busy as I knew I would be, and the time really did FLY by (but I did miss him...and Tucker)!
So the quilting process started by picking a pattern/idea for the quilt. I searched online, and finally decided on a Raw Edge Circle Quilt I found and fell in love with on Pinterest. Here's the picture of the one I loved:

Thankfully, that picture came with a very detailed blog tutorial as well! :)
Next was picking out the fabric. I can't remember how many different fabric patterns or yards of fabric I ended up with -I do remember the calculations making my head spin ;) - but it was pretty fun picking out the fabric! Most of the fabric is from Moda's "Oh Deer" collection, and a few other collections from Moda. I think maybe one or two were from something besides Moda.
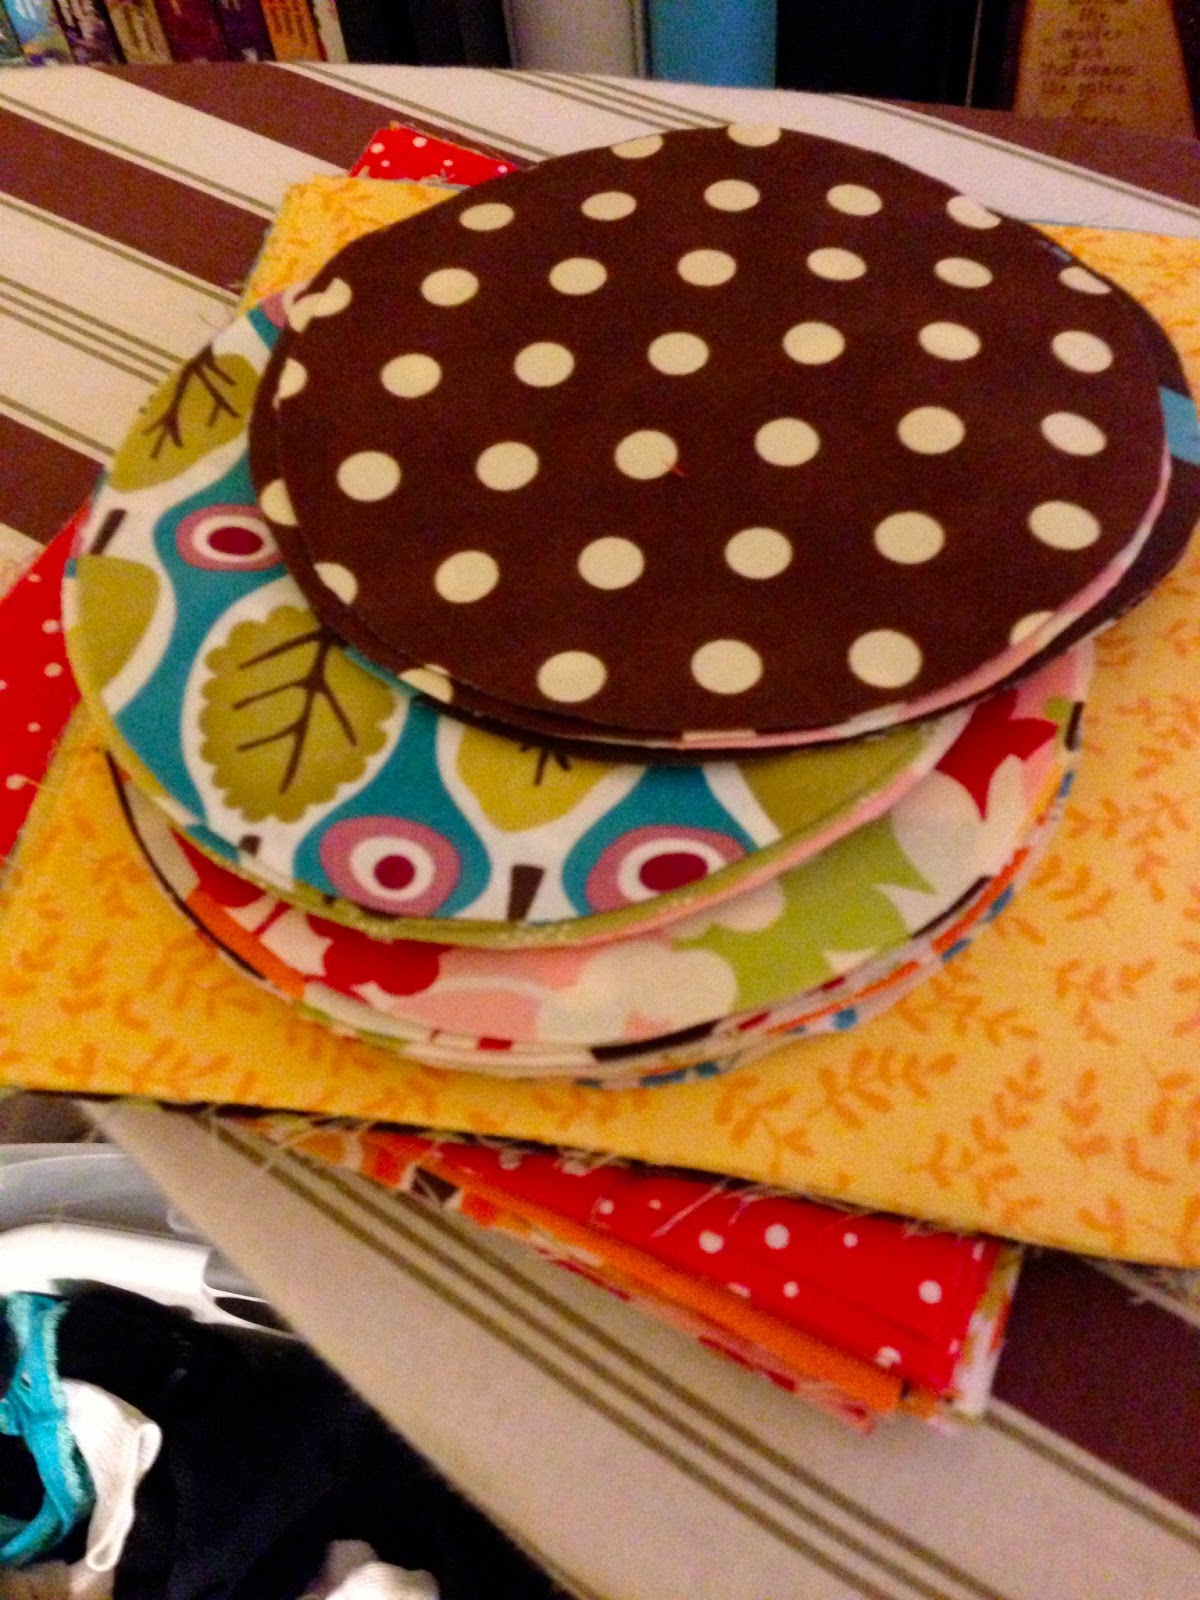
Here are some of the fabrics I chose for the quilt;
fresh from the quilting shop!


First step, cutting out the squares and circles (I did this and the step below before leaving for CA to be a little ahead of the game)!
Next, sew the circles onto the squares. Mix and match the fabrics... (this was extremely different for this "right-brained" accountant!!) ;)


Once all the circles are sewn on the squares, cut into sections of 4.


Then, mix and match the small squares to make one large square (4 pieces). This was one of the most difficult parts for me, because you wanted them to be mixed up as best as possible, and there were SO many options!! Thankfully, we had the wall to help as a visual. I must have spent HOURS getting this *just* right! Once you have them grouped together like you want, sew them together.


Getting advice from one of the most creative women I've ever met (more about this later)!!

Sewing the small squares together.

Finally getting the rows started!! This is when I could finally see progress being made! :)


Once each of the strips were sewn together, then you sew each row together, (see below) which almost makes the complete quilt top!

Borders and cornerstones were next.

THEN! :) I sent the quilt topper to the quilter! She did a wonderful job!!! It was custom quilting for the center because each circle is a raw edge. I was so impressed with her work I was almost in tears when I received the package back. Here's a link to her website: Sew Shabby Quilting I highly recommend her!


Finally, the binding. My least favorite part to complete, but it is definitely necessary...it's a great project for long car trips, I must add, though! ;) I didn't get any pictures of this part, but I pieced a bunch of my straps together to make the 2" binding (next time I will do 2.5"). This helped use a lot of the fabric I had remaining and adds a variety of color around the border. The hand stitching was my least favorite task on this project. I'm not skilled in hand stitching and it felt like FOREVER to get this last portion done. I will likely try machine binding next time...or at least a long car ride to do nothing but hand stitch! :)

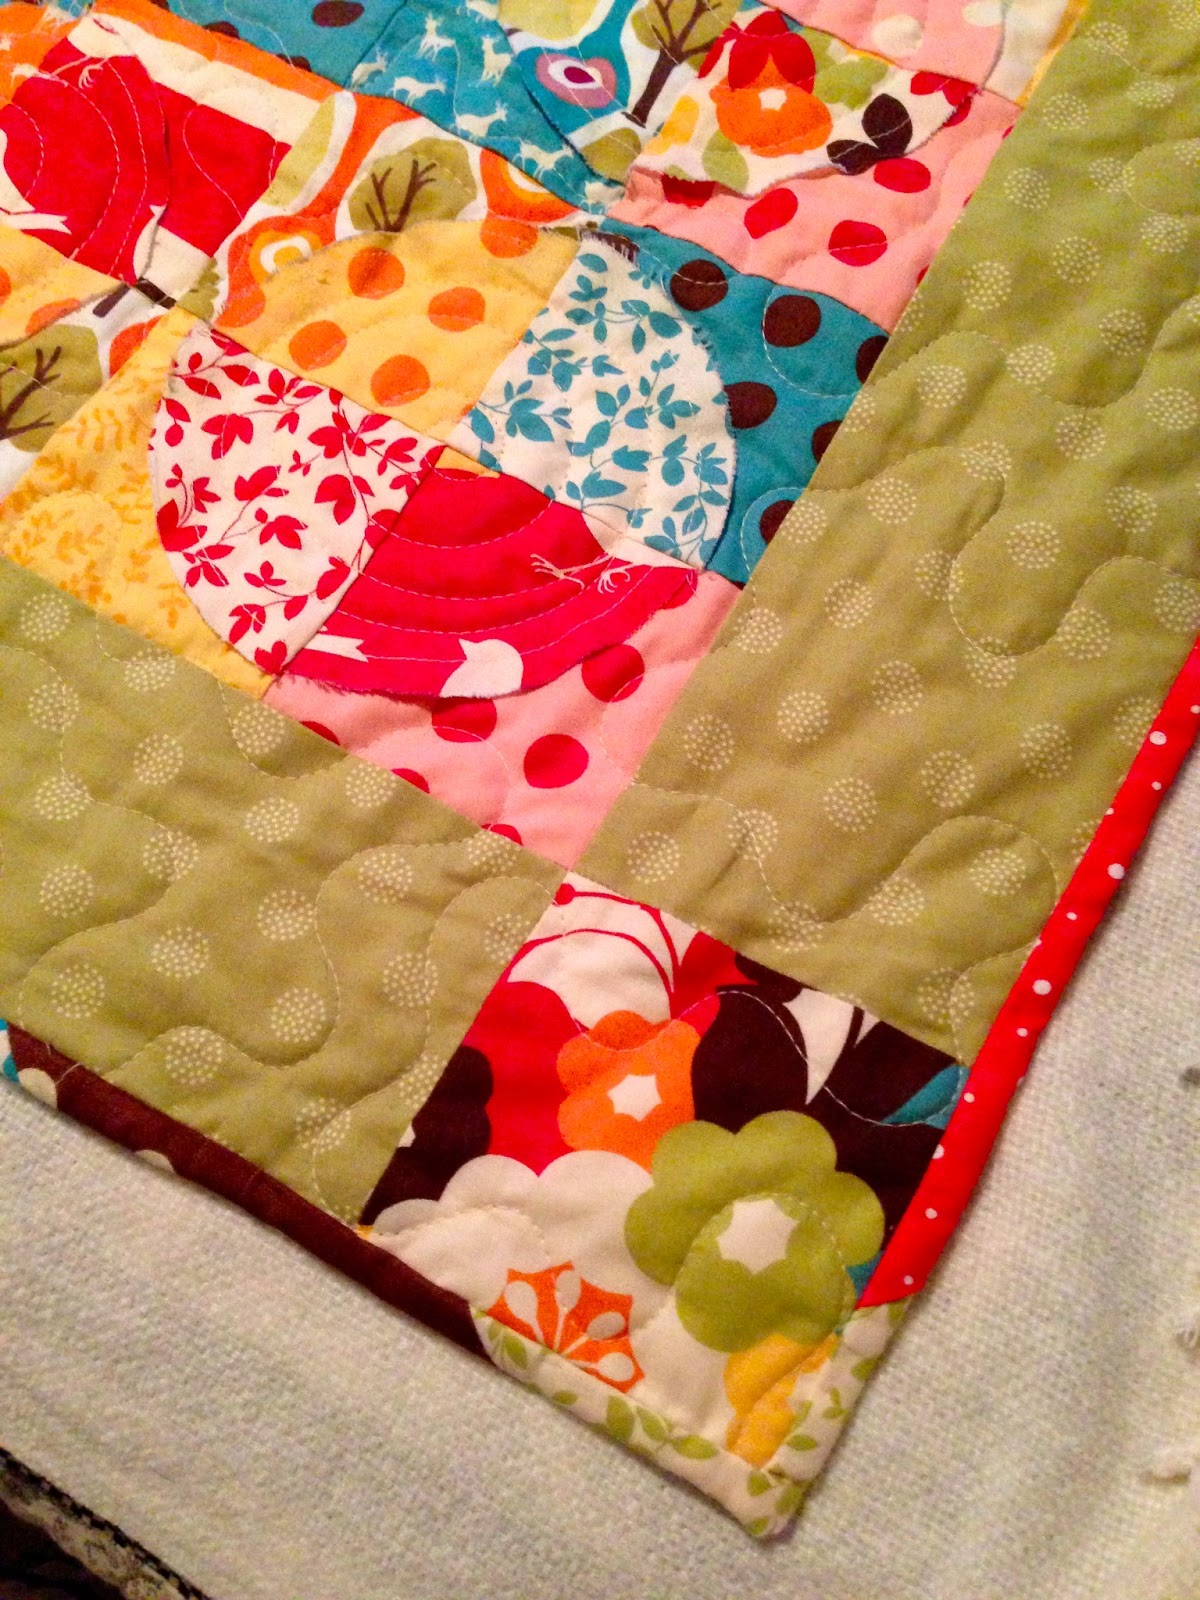


After the wash, the raw edges really show up! :)


I can't finish this blog without a HUGE thanks to my hubby, MIL, Tim's cousin Lisa, and all the women at the quilting retreat as well as the ones at my local quilt shop, Thread Bear Fabrics, who helped me through this entire process. I had a lot of "hand holding" but was glad for all the input and advice to complete this without pulling my hair out! It was a lot of fun, I learned a LOT, and I'm looking forward to the next one. Hopefully it won't take 9 months to complete!! ;)
